Function Test
This section explains how to test the GECKO4 Education epfl-edition with the default test program. You can get the bit file here. The functiontest contains four tests as indicated in the following sections.
Start Test Environment and LED test
To start a function-test session hold SW6 and tip SW1.
SW1 is set as a reset button. More information concerning the buttons can be found here.
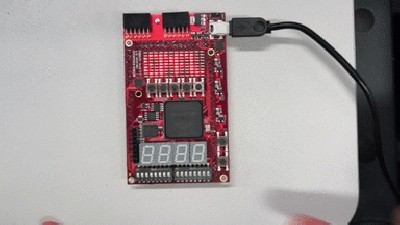
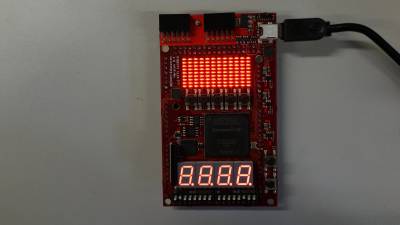
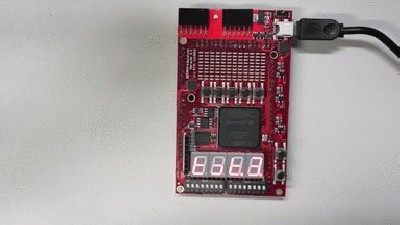
Check if all LED’s and seven segment displays are illuminated.
More information concerning the LED and seven segment displays can be found here.
Test 0 Buttons
Tip the buttons in following order: SW2, SW3, SW4, SW5, SW6, SW7
Test 1 DIP Switch
Press DIP switches in following order: DIP-switch1.1 … DIP-switch1.8, DIP-switch2.1 … DIP-switch2.8
Test 2 Serial Flash
This test run automatically and is very fast. Normally you won’t see something.
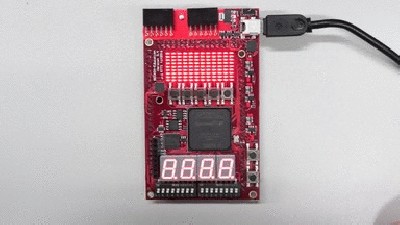
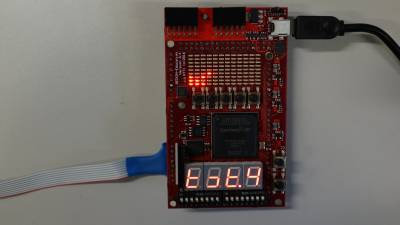
Test 3 SDRAM
The SDRAM Memory test is running automatically. SEG4 DP indicates the status.
SEG4 DP |
Status |
|---|---|
fast blink |
slow blink |
write |
read |
Further information concerning seven segment display can be found here.
Test 4 DAC
For this test a connection to an Oscilloscope is required. The below table indicates the connections.
GECKO4Education |
Oscilloscope |
|---|---|
DAC1 |
Channel 1 |
DAC0 |
Channel 2 |
GND |
GND Channel 1 |
GND |
GND Channel 2 |
More information concerning the Arduino compatible connectors can be found here and More information concerning the DAC can be found here.
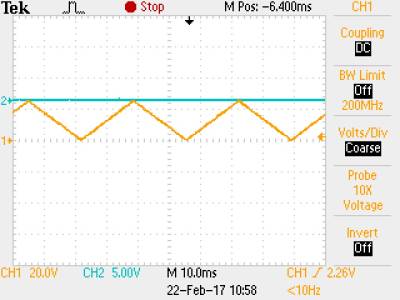
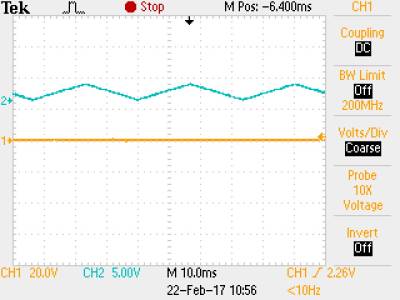
The desired output for Channel 1 on the oscilloscope.
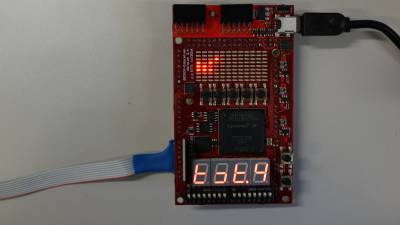
The desired output for Channel 2 on the oscilloscope.