Configuring after production
After the board has been produced it has to be configered once to be able to use it. This configuration includes three consequent steps:
Downloading the firmware to the PIC-microcontroller
Step 1: download and install mplab ipe
Download and install MPLAB IDE/IPE*.
Info
If you are running a 64-bit distribution without multiarch support, you may need to install dependencies before you can run the installer. Information concerning the 32 Bit libraries can be found here.
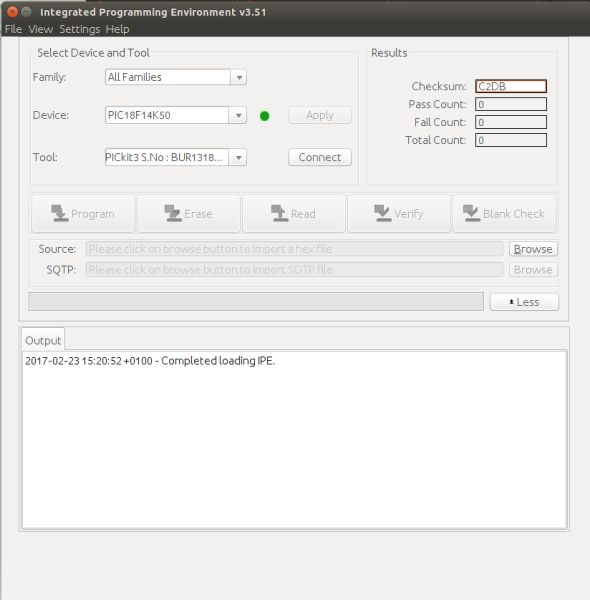
Step 2: start and configure mplab ipe
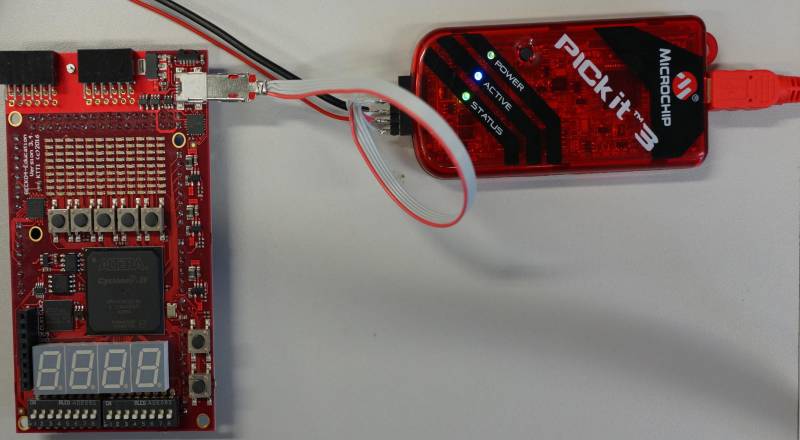
Connect the Microchip Pickit3 programmer with the USB-Cable to your PC. More information concerning the Pickit3 In-Circuit Debugger can be found here*.
The below picture indicates the configuration of mplab ipe. Choose device PIC18F14K50. The tool will detected automatic, if it’s connected to your PC. Afterwards press ‘Connect’.
Step 3: Prepare connection to GECKO4Education
Prepare a Pickit3-to-GECKO cable as descripted in the below table.
mini USB |
6PIN CONNECTOR HEADER |
Ext. 5V Power Supply |
|---|---|---|
1 |
2 |
+5V DAC |
2 |
5 |
|
3 |
4 |
|
4 |
1 |
|
5 |
3 |
GND/0V DC |
6 |
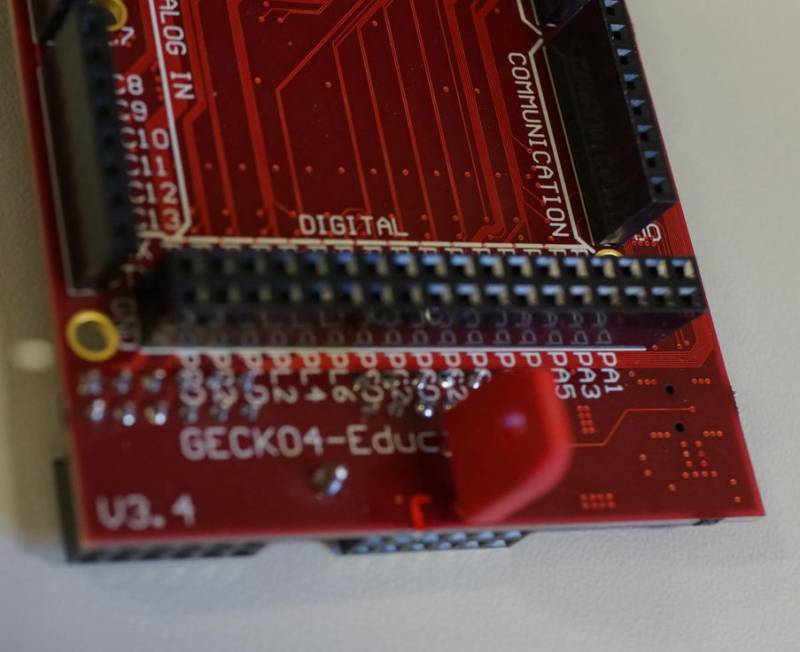
Clip a “jumper” onto the GECKO4Education as indicated in the below figure.
Connect the GECKO4Education to Pickit3 programmer.
Choose the source by browse to the hex file which can be found here.
Step 4: Program PIC 18
Press the program-button. While programming the status LED on the PICKIT3 programmer is blinking. After finishing programming, don’t forget to release the jumper.
Programming the test-bitfile into the serial Flash
Step 1: download and install quartus prime lite
Download and install Intel Quartus Prime Lite Edition v18.*.
Step 2: launch quartus prime lite
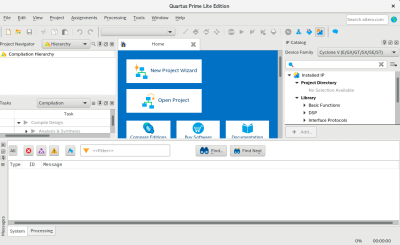
Step 3: open programmer
Open the programmer: → Tools → Programmer
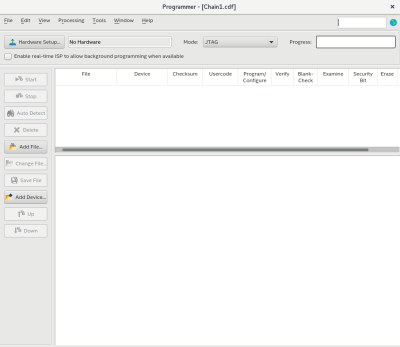
Step 4: add binary file
Press button “Add File…” → browse to “functiontest.jic-File” which can be found Here.

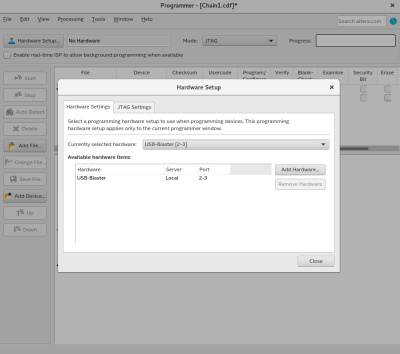
Step 5: connect Gecko and choose hardware
Connect the Gecko4Education via a mini-USB cable to your PC and press “Hardware Setup…” button. Choose “USB-Blaster” as hardware device.
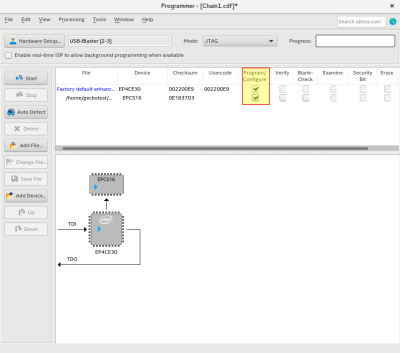
Step 6: choose Program/Configure
Set the marked boxes Program/Configure as indicated in the below figure.
Step 7: start programming
Press the “Start”-button to program the Gecko4Educations flash.
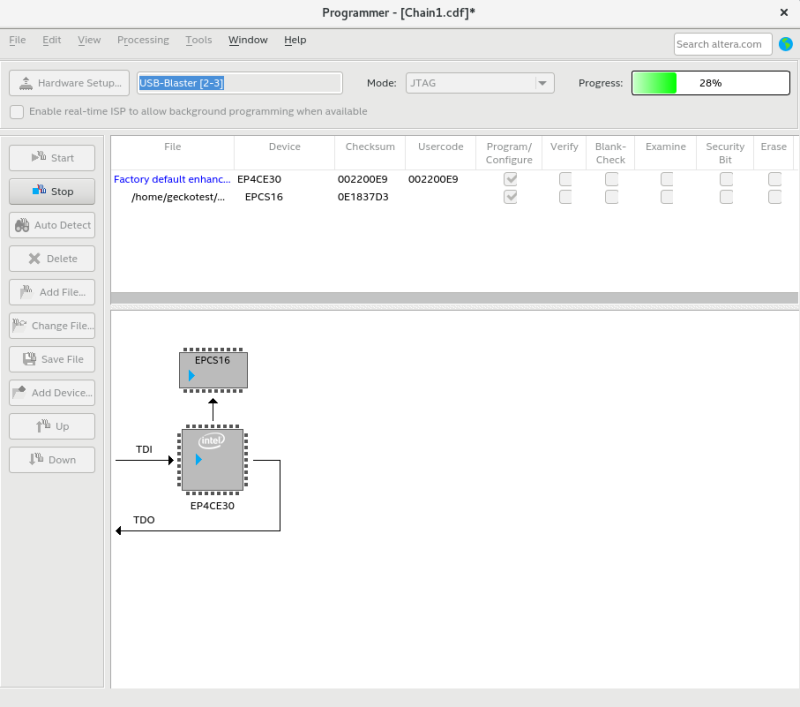
Step 8: finish
If the programming is running without failure. The functiontest program is set up successful as indicated in the below figure.

Testing for correct functionality
Information concerning function test can be found here.